
 |
|||||||||||||||||||||||
|
This kit is from SierraWest Scale Models.
|
|||||||||||||||||||||||
|
Construction Photographs
Even though I have a lot of other projects started, and I am currently working on them, I have begun Railroad Camp. The reason I have started it now is because I want to work on it at the same time several others are. On the Railroad-Line Forum there is a thread discussing it's construction - I'll try to not fall too far behind. 9/11/03 |
|||||||||||||||||||||||
 |
|||||||||||||||||||||||
|
Here is the outside of the box just waiting for me to open it.
9/9/03 |
|||||||||||||||||||||||
 |
|||||||||||||||||||||||
|
Inside it is full of parts! I already stained the stripwood when I took this picture.
9/10/03 |
|||||||||||||||||||||||
 |
|||||||||||||||||||||||
|
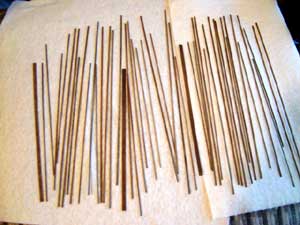
Here you can see the stripwood being stained. In the instructions there is given a mixture of several Poly Scale paints, black ink, and water. It said to leave them in for 12-24 hours but this time I left them in for only 6-8 hours. Leaving them in longer gave it an older, more worn look (Logging and Tractor Repair Shed.) I wanted these to have a newer look.
(That's not an oil stain, it's a reflection from the window.) 9/10/03 |
|||||||||||||||||||||||
 |
|||||||||||||||||||||||
|
Here is an earlier batch drying.
9/10/03 |
|||||||||||||||||||||||
 |
|||||||||||||||||||||||
|
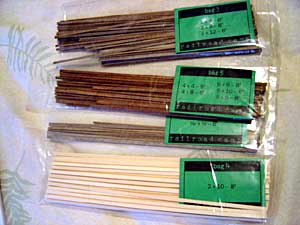
The top three bags are done. The middle one was done with a different mixture of Floquil paints and brushed on. They came out with a "newer" look. The bottom bag has not been started yet.
9/10/03 |
|||||||||||||||||||||||
 |
|||||||||||||||||||||||
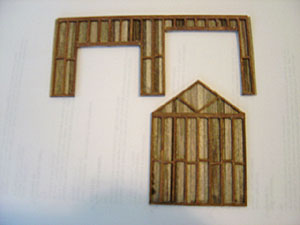
| This view shows the inside of the first two walls of the truck repair shop.
9/10/03 |
|||||||||||||||||||||||
 |
|||||||||||||||||||||||
|
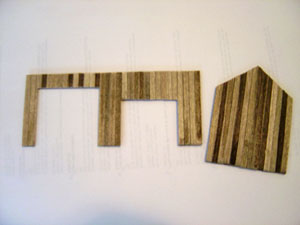
This view shows the outside. The battens have not been added yet.
9/10/03 |
|||||||||||||||||||||||
 |
|||||||||||||||||||||||
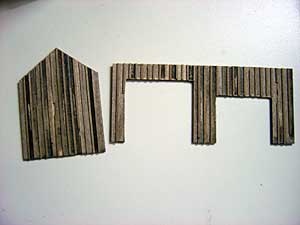
| Here are the walls after the battens are on. It's looking better.
9/11/03 |
|||||||||||||||||||||||
 |
|||||||||||||||||||||||
|
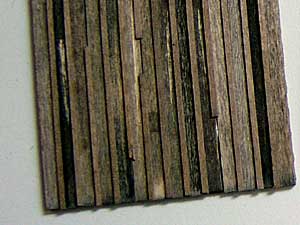
Here is a close-up view of the battens on the wall. It still needs a little weathering but it's on it's way....
9/11/03 |
|||||||||||||||||||||||
 |
|||||||||||||||||||||||
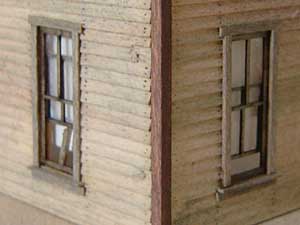
| This is the second floor of the office. The final weathering still needs to be done. Once that is done things blend together really well.
9/22/03 |
|||||||||||||||||||||||
 |
|||||||||||||||||||||||
|
Here is a close-up of the same picture above. I really like how it looks like individual boards between the window and corner.
9/22/03 |
|||||||||||||||||||||||
 |
|||||||||||||||||||||||
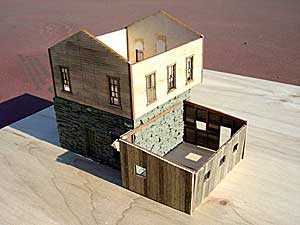
| Here I am test fitting the walls of the office and the tar paper shed.
9/25/03 |
|||||||||||||||||||||||
 |
|||||||||||||||||||||||
|
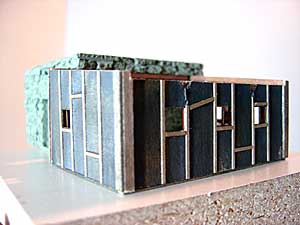
The stone walls are a little tricky to line up so it's good to test fit before glueing. Besides, I wanted to see what it was going to look like. The tar paper shed does not have the tar paper on yet.
9/25/03 |
|||||||||||||||||||||||
 |
|||||||||||||||||||||||
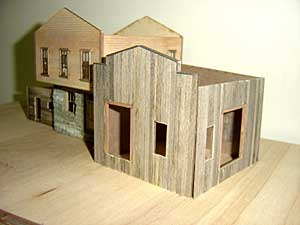
| Here is the tar paper shed. The tar paper was pre-weathered before installation but there will be more weathering to blend it all together.
9/25/03 |
|||||||||||||||||||||||
 |
|||||||||||||||||||||||
|
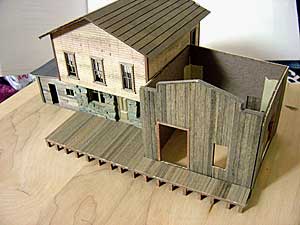
I finally made some progress. It seems like it has been awhile. The warehouse walls are built but not weathered or detailed yet. None of the separate buildings are glued together yet.
10/8/03 |
|||||||||||||||||||||||
 |
|||||||||||||||||||||||
| The porch for the office. (I took the picture after 2 of the 3 roofs were done.) 10/23/03 |
|||||||||||||||||||||||
 |
|||||||||||||||||||||||
|
The rafters for the tar paper shed.
10/28/03 |
|||||||||||||||||||||||
 |
|||||||||||||||||||||||
|
The roof is on! Weathering to follow later. Can't forget the door either!
10/28/03 |
|||||||||||||||||||||||
 |
|||||||||||||||||||||||
|
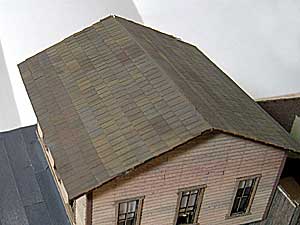
The roof of the office. It still needs ridge caps and rafter tails. When it's more complete I'll take a more detailed close-up photo.
10/29/03 |
|||||||||||||||||||||||
 |
|||||||||||||||||||||||
|
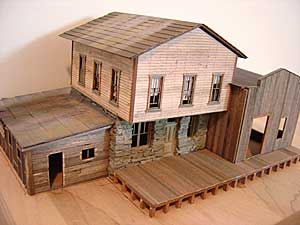
Here is a view of the trio of buildings with their roofs on. I even added some weathering to the roofs but am not satisfied with the results yet. (A little more work should do it.) I like how this cluster of buildings is shaping up.
10/30/03 |
|||||||||||||||||||||||
 |
|||||||||||||||||||||||
|
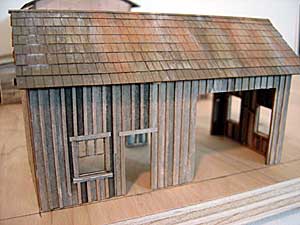
The truck repair shop with it's roof. I'm thinking about adding full bracing under the roof. The kit just calls for two braces but depending on what the viewing angle will be it might be worth adding more because the building is so open.
10/30/03 |
|||||||||||||||||||||||
 |
|||||||||||||||||||||||
|
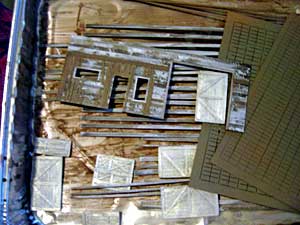
Here are the materials for the boiler and welding shop with one wall put together. Some of the stripwood was blotted with white to make it look like pealing paint.
12/9/03 |
|||||||||||||||||||||||
 |
|||||||||||||||||||||||
|
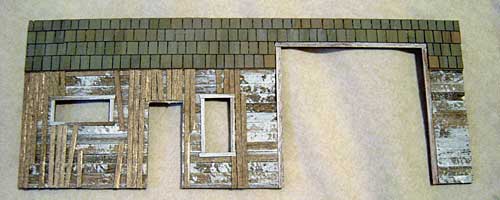
Here is a close-up of the same wall with the shingles added.
12/18/03 |
|||||||||||||||||||||||
 |
|||||||||||||||||||||||
|
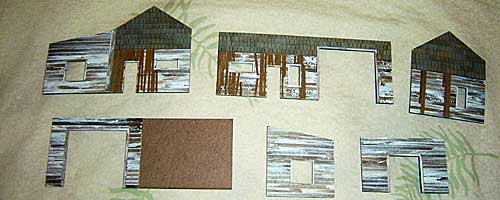
Here are all the walls of the boiler and welding shop.
12/18/03 |
|||||||||||||||||||||||
 |
|||||||||||||||||||||||
|
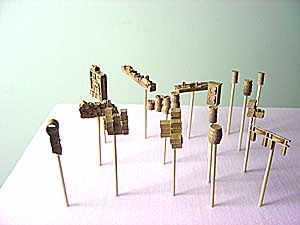
I put the detail parts for the Office, Shed, and Warehouse on toothpicks so that I could handle them easier while painting. (I drilled a hole in the bottom and pushed in the toothpick.)
1/3/04 |
|||||||||||||||||||||||
 |
|||||||||||||||||||||||
|
I've got all the paints lined up. The flash makes the colors look brighter than they actually are.
1/30/04 |
|||||||||||||||||||||||
 |
|||||||||||||||||||||||
|
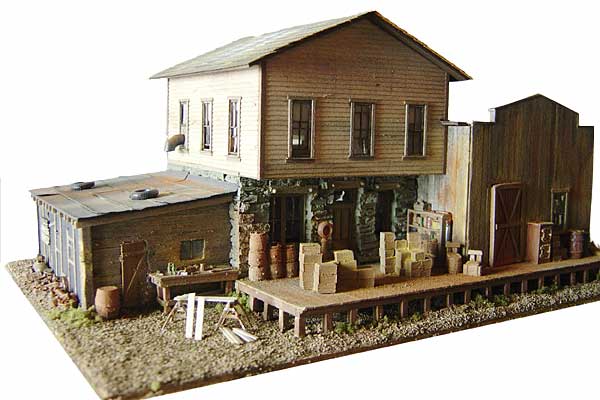
Most of the details and weathering has been added. (The back side is not complete.) I wanted to get these buildings done and it feels great having them look like they should! It's come a long way since I started in September.
1/4/04 |
|||||||||||||||||||||||
 |
|||||||||||||||||||||||
|
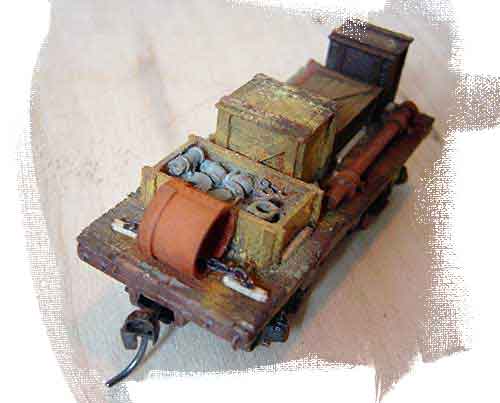
For a change in pace I thought I'd do the flat car and the load that came with it. I started and finished it in one night! That really surprised me though I did stay up pretty late.
1/8/04 |
|||||||||||||||||||||||
 |
|||||||||||||||||||||||
|
It was a great side project that only took one night and was still part of the kit I am currently working on.
1/8/04 |
|||||||||||||||||||||||
|
This page is getting longer and longer.... so I think I'll split it up to help download times. |
|||||||||||||||||||||||