 |
||||||||||||||||||||||||||||||||||||||||||||
 |
||||||||||||||||||||||||||||||||||||||||||||
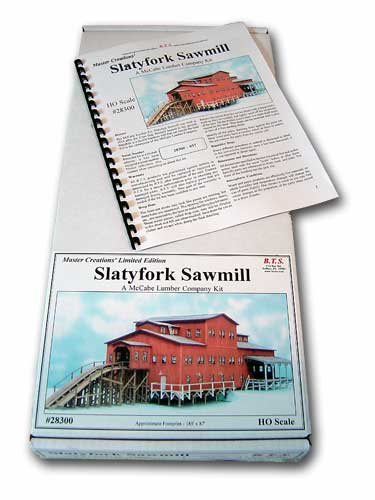
| The Slatyfork Sawmill from B.T.S. comes in a BIG box! There are a lot of parts and I'm excited to work on it! The manual says there are over 1,200 laser-cut parts and over 140 brass and white metal detail castings.
8/4/03 |
||||||||||||||||||||||||||||||||||||||||||||
 |
 |
|||||||||||||||||||||||||||||||||||||||||||
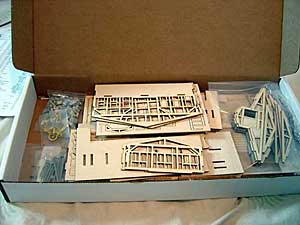
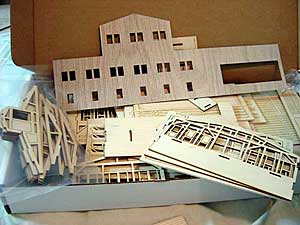
| Shown above is what you see when you open the box.
8/4/03 |
When you start pulling out the pieces you see why such a large box is needed.
8/4/03 |
|||||||||||||||||||||||||||||||||||||||||||
 |
 |
|||||||||||||||||||||||||||||||||||||||||||
| In these two shots you can see the brass and white metal detail castings. If you look in the upper left picture you can see them on the left side of the open box.
8/4/03 |
||||||||||||||||||||||||||||||||||||||||||||
 |
||||||||||||||||||||||||||||||||||||||||||||
| The main framing is made of 8 pieces. (The mill has 4 and the sawfilers room has 4.) Shown is a Model Railroader Scale Rule for size comparison. (It is 12 inches long.)
8/5/03 |
||||||||||||||||||||||||||||||||||||||||||||
 |
||||||||||||||||||||||||||||||||||||||||||||
| The sheathing is a thin layer scribed on both sides to show board detail inside and out. It was difficult to get the glue applied to such a large piece. I decided to try using Krylon Spray Adhesive. I worked one wall at a time, masking off the other areas I didn't want sprayed. So far, from my experience, gluing wood to wood works well but metal to wood doesn't. I tried to glue metal roofing on a building but it hasn't stayed. I like rubber cement better - I just need to get a new bottle. :) Some of the edges were coming off so I added some ACC to those areas and all looks well.
8/5/03 |
||||||||||||||||||||||||||||||||||||||||||||
 |
||||||||||||||||||||||||||||||||||||||||||||
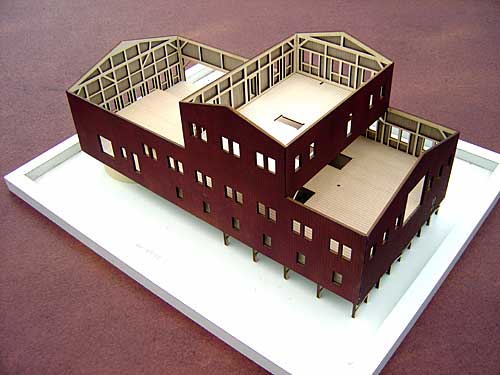
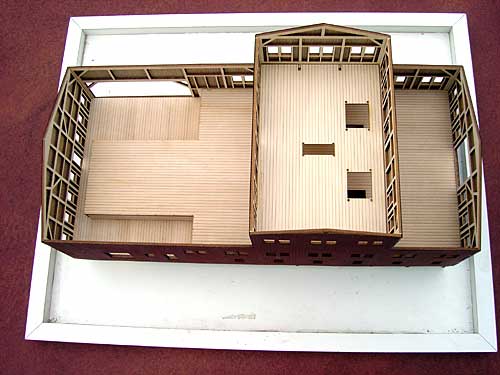
| This bird's-eye-view shows the different layers of the floors.
8/5/03 |
||||||||||||||||||||||||||||||||||||||||||||
 |
||||||||||||||||||||||||||||||||||||||||||||
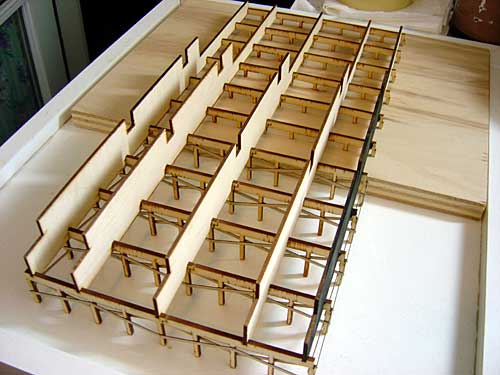
| Floor supports. The plywood at the back is where the ground is and the white area in front is where the posts go into the water. During construction this makes a nice base until I'm ready to install on the layout.
8/5/03 |
||||||||||||||||||||||||||||||||||||||||||||
|
When it came time to cut the paper for the tar paper roofing material I came up with the following idea. I think something I read long ago may have given me this idea but I don't think it was done quite this way. I found this way to work very well. 10/19/03 |
||||||||||||||||||||||||||||||||||||||||||||
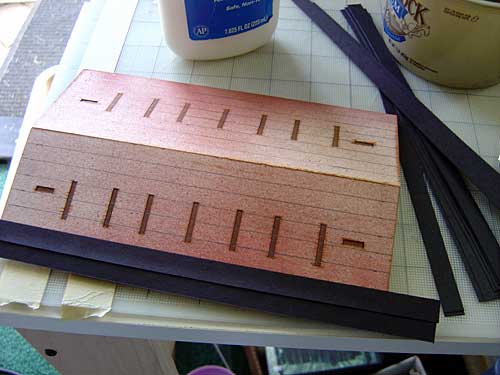
| 1) Number 1 in the picture shows where I put down two layers of tape on my cutting board. Keep the right edge very straight. This is used as a stop for the paper to go against.
2) Next I put down a single piece of tape above and below where the paper will go next to the first strip of tape. I wanted my strips to be 36 scale inches wide so I made this measurement from the first piece onto each of the second pieces. Using these marks I laid the scale rule parallel to the first piece 36 scale inches away and cut the second pieces of tape. Now the second piece is exactly 36 scale inches away from the first. 3) The next step is to place some small pieces of tape over the pieces just cut. (Number 2 in the picture) Keep the edge lined up perfectly with the new cut just made. Make 3 or 4 layers. This will be the stop for the cutting guide. 4) Finally, push the paper against the tape edge #1. Place your cutting guide (I used my scale rule.) against the tape edge #2 (arrows in picture). The extra thickness makes it higher than the paper so the cutting guide goes right where you want it to go. Using a sharp blade make your cut. As you cut keep pressure on the cutting guide so the paper underneath does not move. (Very important!) 5) Repeat step #4 over and over until you run out of paper or have enough to cover your roof. |
 |
|||||||||||||||||||||||||||||||||||||||||||
 |
||||||||||||||||||||||||||||||||||||||||||||
| After the roof was made and the tar paper strips cut (see above) I drew guide lines to keep the rows straight. The first line I drew 33 scale inches from the bottom so the 36" strip would overhang 3" inches. Every row thereafter was 30 scale inches apart so that each row would overlap 6". Working two or three rows at a time, I smoothed out white glue with my finger, lined up each strip and pressed them all over to make them secure. For the cap piece (the top row that covers the ridge and overlaps both sides) simply fold one strip in half, add some glue to the strip, and press in place. Once done, I let it dry for a few minutes then turned it over and using my scale rule as a straight edge, trimed all the pieces even to about 3 scale inches overhang.
10/19/03 |
||||||||||||||||||||||||||||||||||||||||||||
 |
 |
|||||||||||||||||||||||||||||||||||||||||||
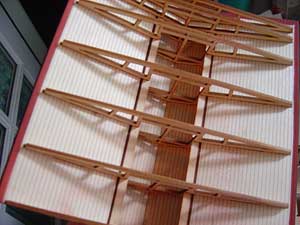
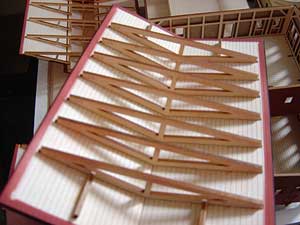
| This is the underside of the main roof. Lots of rafter details also gives it strength to be removable.
10/20/03 |
This is the underside of the sawfilers roof. All three roof sections are removable.
10/20/03 |
|||||||||||||||||||||||||||||||||||||||||||
 |
||||||||||||||||||||||||||||||||||||||||||||
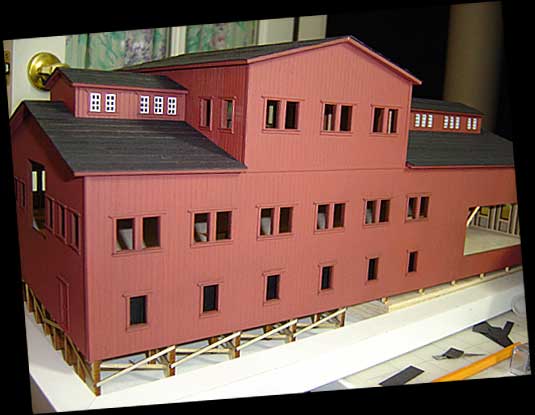
| Here you can see the detailed framing around the windows. Also, the clearstory windows are in and the tar paper roof is on (not weathered yet though.) I think it's really starting to look like something!
10/20/03 |
||||||||||||||||||||||||||||||||||||||||||||
|
|
||||||||||||||||||||||||||||||||||||||||||||
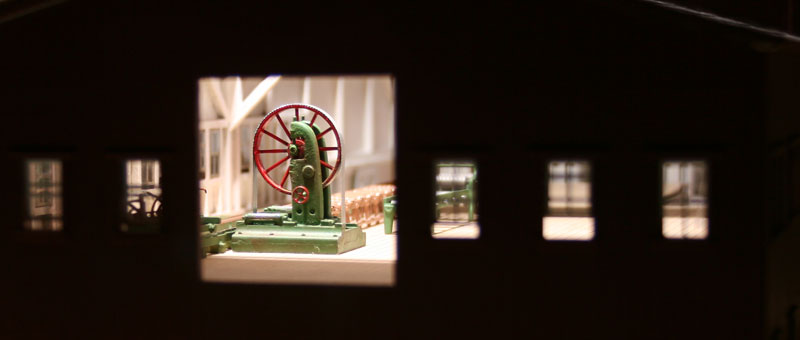
| I started working on the interior details. Small projects that could be completed in a couple evenings like the band saw. It got me excited to get back to the entire mill. | ||||||||||||||||||||||||||||||||||||||||||||
 |
||||||||||||||||||||||||||||||||||||||||||||
 |
||||||||||||||||||||||||||||||||||||||||||||
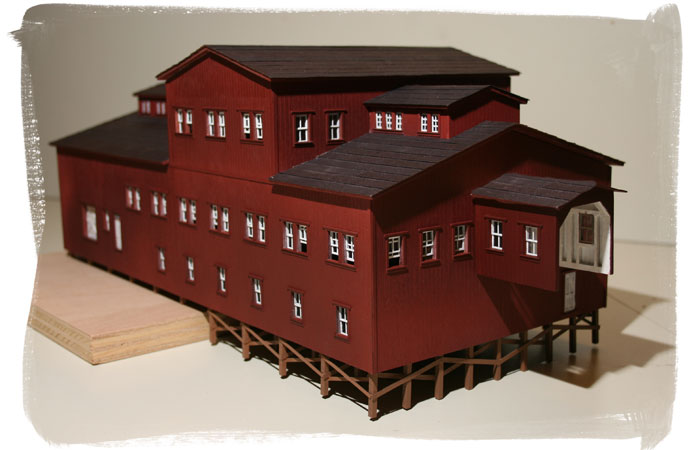
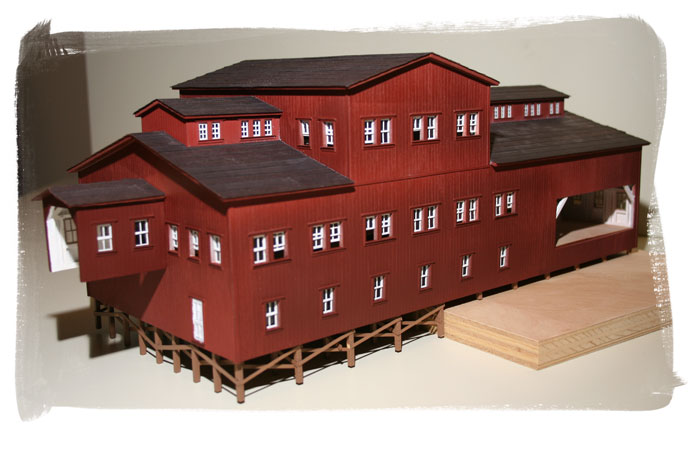
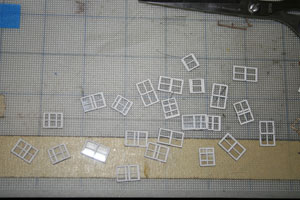
| There are nearly 80 windows!!! I hate doing windows. Once I finally started it wasn't too bad. I would just do ten or so at a time. Maybe I like doing them now, no, wait I can't. Oh well! | ||||||||||||||||||||||||||||||||||||||||||||
 |
 |
|||||||||||||||||||||||||||||||||||||||||||
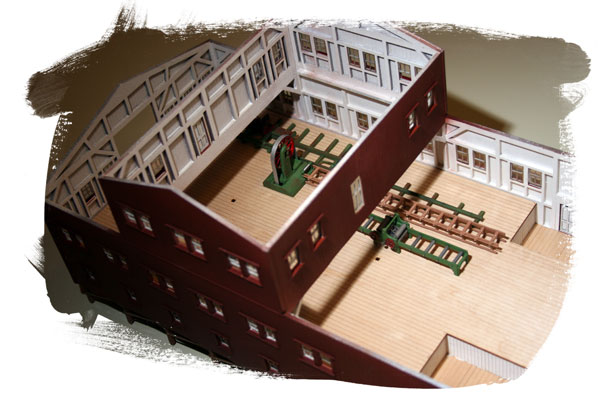
| The other thing I did before the windows was to paint the inside white. I didn't like the lasercut showing on the framework, and several years ago I heard that sawmills were often painted white inside so that's what I did too! Since the building was already built I started off with two different size brushes and some white paint. After several hours (listening to the TV while working) I had a little more than one of the long walls painted. It was taking soooooo lonnnngggg! Finally out came the white paint spray can. With all the skill I've developed over the years using spray cans, I was able to get in all the nooks and crannies without getting too much on the exterior. It was easier and had a smoother finish. Now to retouch the exterior. I have a couple different "red oxide" primer paints with slightly different shades that I had experimented with a couple years ago when I first painted the exterior. As luck would have it, I think I used a different shade when retouching. However, as "happy accidents" go, it blended pretty good and I like the effect, I think especially after I put on the final weathering. The jack slip shed is temporarily in place in the pictures above. (I hadn't built it yet so I was able to paint the inside and outside separately.) | ||||||||||||||||||||||||||||||||||||||||||||
 |
||||||||||||||||||||||||||||||||||||||||||||
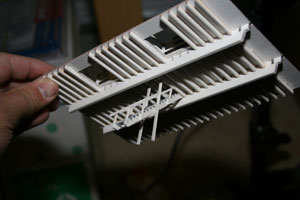
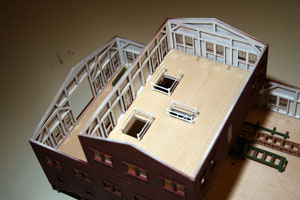
| In the picture above you can see the nice contract between the red and white. In the picture below (left) it shows the joists under the sawfiler's floor and connecting stairs. The joists of the roofs were also painted white. In the picture below (right) you can see the sawfiler's floor in place. | ||||||||||||||||||||||||||||||||||||||||||||
 |
 |
|||||||||||||||||||||||||||||||||||||||||||
 |
||||||||||||||||||||||||||||||||||||||||||||
|
2/26/06
|
||||||||||||||||||||||||||||||||||||||||||||
 |
||||||||||||||||||||||||||||||||||||||||||||
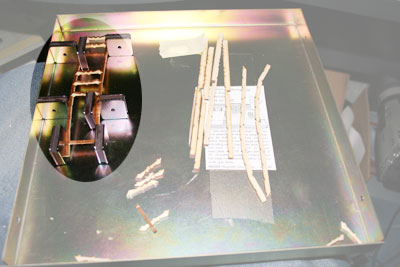
| I finally got a magnetic gluing jig as seen in the photograph. (Always thought it was a little expensive but found it for a great price!) I've highlighted the area I'm using. It was a really great help to keep things square while gluing the jackslip together.
3/6/06 |
||||||||||||||||||||||||||||||||||||||||||||
 |
||||||||||||||||||||||||||||||||||||||||||||
|
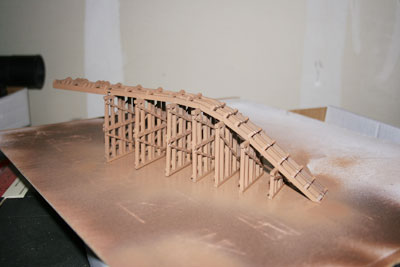
Here the framework is completed and painted. I almost didn't put the NWB (Nut, Washer & Bolt) Castings on the bents because I thought that detail wouldn't show. You can't tell from this picture but I put them on and like the detail they add.
3/6/06 |
||||||||||||||||||||||||||||||||||||||||||||
 |
||||||||||||||||||||||||||||||||||||||||||||
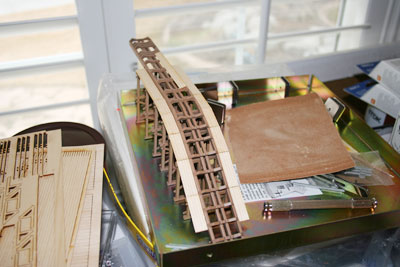
| The walkway is glued on. Next comes the trough. You can see the first piece on. Also, the magnetic gluing jig was good to use as a small flat work area.
3/7/06 |
||||||||||||||||||||||||||||||||||||||||||||
 |
||||||||||||||||||||||||||||||||||||||||||||
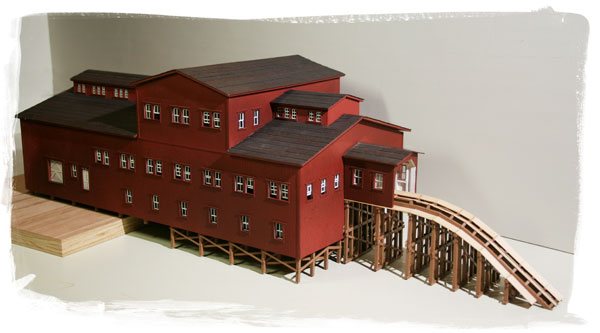
| Here's a shot with the jack slip attached. It still needs the handrails. 3/13/06 | ||||||||||||||||||||||||||||||||||||||||||||

